CoNet - Documentation - Tutorial (HMP 16S phylotypes data subset)
The goal of this tutorial is to infer relationships between taxa at three vaginal sites (vaginal introitus, mid-vagina and posterior fornix) from 16S data collected by the HMP consortium.
Tutorial files
HMP 16S V35 phylotype data vaginal subset
metadata accompanying the vaginal subset, with lineages and bodysites
permutation settings file
bootstrap settings file
permutation distributions
This tutorial illustrates how to combine permutation and bootstrapping to compute method-specific p-values and consists of two parts: In the first part, we will generate a permutation score distribution file. In the second part, we generate bootstrap distributions. We compare these bootstrap distributions with the permutation distributions generated in the previous part and compute a method- and edge-specific p-value that combines both.
Permutation
You can skip the first part of the tutorial and download the permutation distributions available here.
Short version (using the CoNet permutations settings file)
- Open the CoNet plugin in Cytoscape and click the "Settings loading/saving" button.
- In the Settings menu, click "Select file" and browse the file tree to the permutation settings file.
- Click the "Apply settings in selected file" button and close the Settings menu.
- In the Data menu, click on the top-most "Select file" and browse the file tree to select the vaginal subset of the 16S HMP phylotype data.
- In the Data menu, click the "Metadata and features" button to open the metadata submenu.
- In the Metadata submenu, click the left "Select file" button and select the metadata file.
- Close the metadata and data menus and open the Randomization menu.
- In the Randomization menu, click the "Select folder" button and select a folder where you would like to save randomization results.
- Then specify the file name of the randomization result file.
- In the main menu, click the GO button.
Long version (entering everything manually in the CoNet interface)
- Open the CoNet plugin in Cytoscape and open the Data menu
- In the Data menu, click on the top-most "Select file" and browse the file tree to select the HMP 16S vaginal sub-set data file.
- Click the "Metadata and features" button to open the metadata submenu.
- In the Metadata submenu, click the left "Select file" button and select the metadata file.
- In the text area below, enter the metadata columns contained in the metadata file: lineage/taxon/bodysite
- In the text area for the group attribute, enter: bodysite
- In the text area for the lineage separator, enter: -
- Activate parent-child exclusion.
- Close the Metadata and Data menus and open the Methods menu.
- Select the following methods: Pearson, Spearman, Bray Curtis and Kullback-Leibler
- Open the submenu "Automatic threshold setting"
- Enter "50" as edge selection parameter and activate "Top and Bottom"
- Close the Methods menu and its threshold setting submenu and open the Merge menu.
- Activate option "multigraph"
- Close the Merge menu and open the Randomization menu
- Select the "edgeScores" routine and keep "shuffle_rows" as resampling method.
- Select "simes" as p-value merging method.
- Activate "Renormalize".
- Set the multiple test correction to "benjaminihochberg"
- Select 0.05 as lower p-value threshold
- In the "Save" box, push the "Select folder" button and select a folder where the randomization result will be stored.
- Then specify a file name for the randomization result in the text field below.
- Activate "Save randomizations to file".
- Close the randomization menu and open the configuration menu.
- Set the missing value treatment to "paiwise_omit"
- Set the minimum number of NaN-free value pairs to 50.
- In the main menu, click the GO button.
Bootstrap
Short version (using the CoNet bootstrap settings file)
- Open the CoNet plugin in Cytoscape and click the "Settings loading/saving" button.
- In the Settings menu, click "Select file" and browse the file tree to the bootstrap settings file.
- Click the "Apply settings in selected file" button and close the Settings menu.
- In the Data menu, click on the top-most "Select file" and browse the file tree to select the vaginal subset of the HMP 16S data.
- In the Data menu, click the "Metadata and features" button to open the metadata submenu.
- In the Metadata submenu, click the left "Select file" button and select the metadata file.
- Close the Data and Metadata menus and open the Randomization menu.
- In the Randomization menu, in the "Load null distributions" area, click "Open file" and browse the file tree to the permutation distribution file that you generated in the first part of this tutorial. If you skipped the first part, you can download it here.
- In the main menu, click the GO button.
Long version (entering everything manually in the CoNet interface, assuming you have configured CoNet for the permutation step)
The second part of the long version of this tutorial assumes that, even if you skipped the computation itself, you followed the configuration steps of the first part of the long version.
- Open the Randomization menu and un-check "Save randomizations to file"
- Empty the text field below "Select folder"
- In the "Load null distributions" area, click on "Open file" and select the file you generated with the first part of this tutorial. If you skipped the permutation step, download the permutation distributions here.
- Un-check "Renormalize"
- Select "bootstrap" as resampling method.
- Close the Randomization menu and open the Methods menu, there open the "Automatic threshold setting" menu.
- If you carried out the permutation step, empty the text field below the edge selection parameter to avoid repeating the threshold computation, else do not change the setting.
- In the main menu, click the GO button. The computation takes 1-2 minutes on a machine with 8GB RAM.
Result
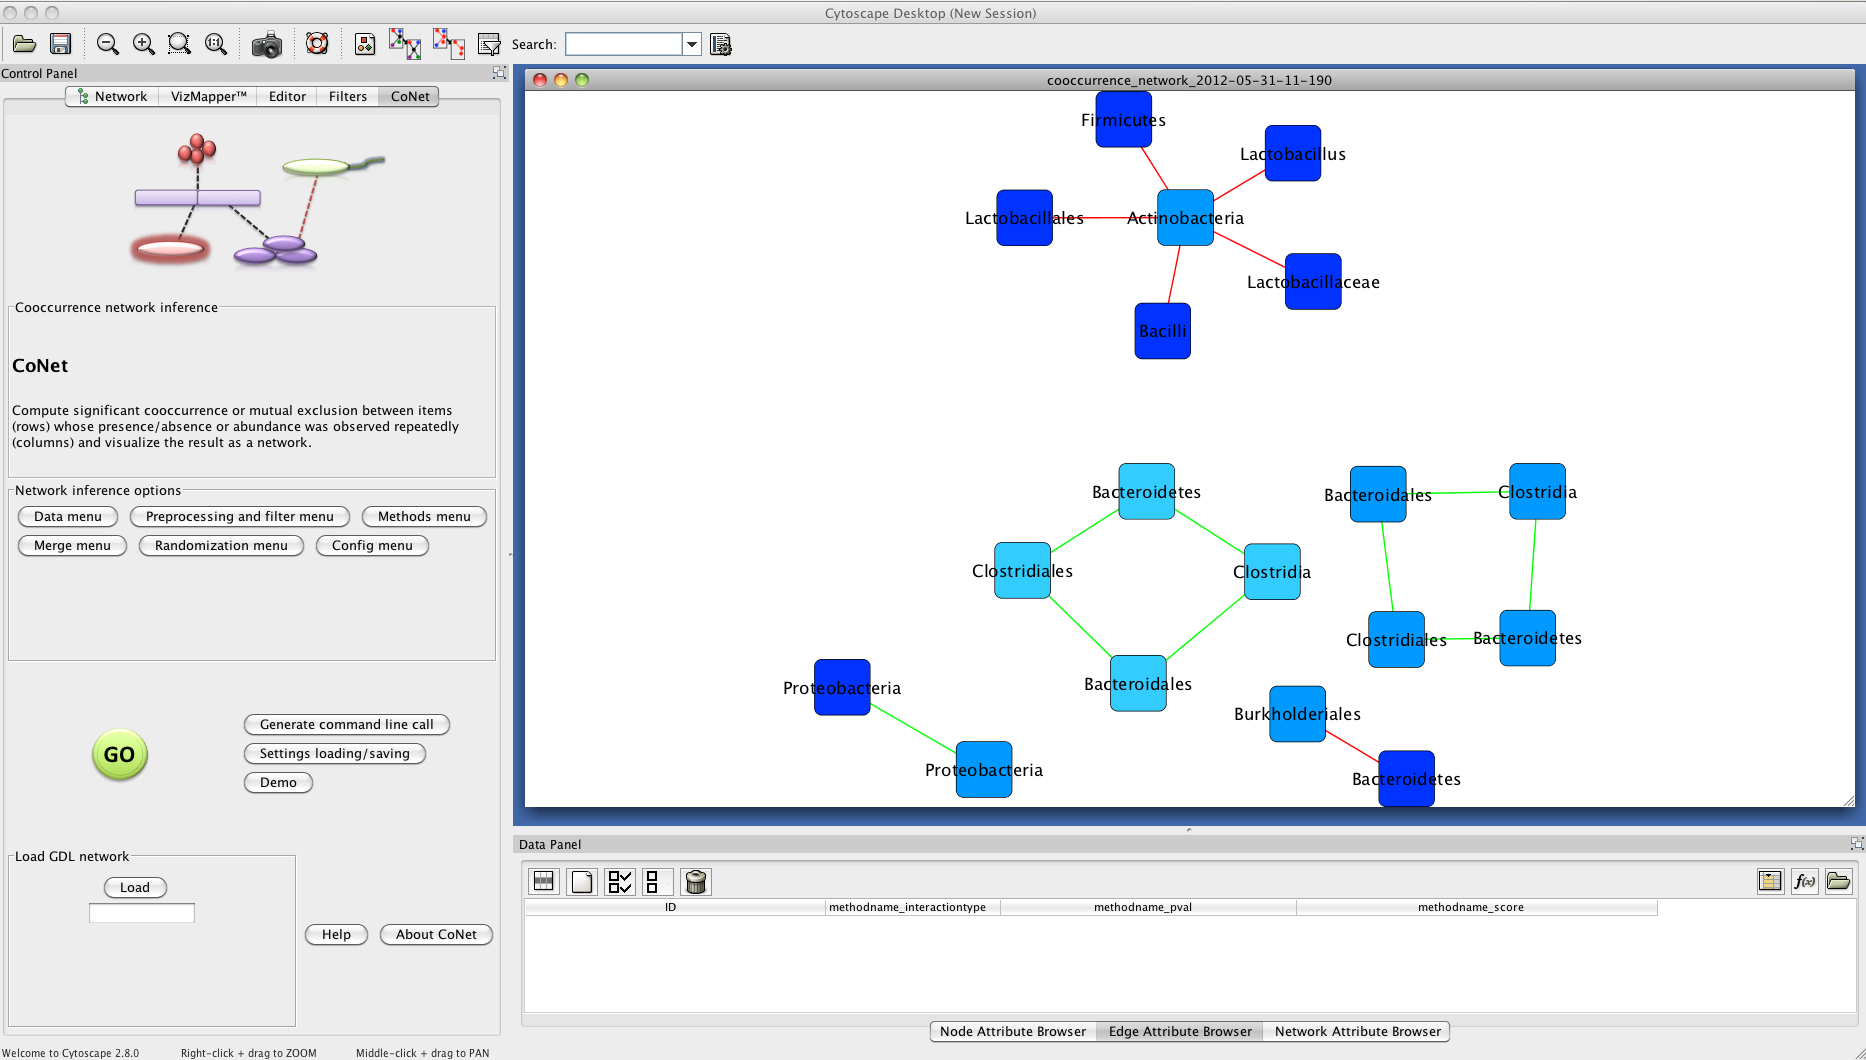
The network returned by CoNet has no layout, as layout computation can be time-consuming, depending on the chosen algorithm.
You can layout the network using one of Cytoscape's supported layouts, for instance the yFiles-layout Organic.
You can then use the VizMapperTM to set body-site specific colors. After these processing steps, the network
may look like the one shown below. Due to the low permutation and bootstrap iteration numbers, different results are possible.
You can save the current CoNet setting by clicking on the "Settings loading/saving" button in the main menu and then selecting a folder and typing a file name to which to save the current settings.