CoNet - Documentation - Tutorial (Lauber soils data)
The goal of this tutorial is to demonstrate how to construct networks from QIIME database biom files.
You can download biom files from the QIIME database. For this tutorial, please select the "Lauber_88_soils" study (published here). If you download and unzip it, you will find a biom file there, which you can convert into an OTU table using the biom tool available at http://biom-format.org. If you use the following command:
biom convert -i study_103_closed_reference_otu_table.biom -o Lauber_soils.txt -b --header-key taxonomy
you will obtain an OTU table that includes the lineages. In case you want to skip these preliminary steps, you can also download the biom or OTU table from below. With the following steps, we will construct an intersection network using 4 different measures. Since we have the lineage information, we will also look for correlations on higher taxonomic levels (e.g. between Acidobacteria and Geodermatophilaceae).
Tutorial files
Lauber soils biom table
Lauber soils OTU table including lineages
settings file
Short version (using the CoNet settings file)
- Open the CoNet plugin in Cytoscape and click the "Settings loading/saving" button.
- In the Settings menu, click "Select file" and browse the file tree to the settings file.
- Click the "Apply settings in selected file" button and close the Settings menu.
- In the Data menu, click on the top-most "Select file" and browse the file tree to select the Lauber soils data file.
- In the main menu, click the GO button.
Long version (entering everything manually in the CoNet interface)
- Open the CoNet plugin in Cytoscape and open the Data menu
- In the Data menu, click on the top-most "Select file" and browse the file tree to select the Lauber soils data file.
- Enable the "Table obtained from biom file" check box.
- Click the "Metadata and features" button to open the metadata submenu.
- In the Metadata submenu, enable the "explore links between higher-level taxa" and "Parent-child exclusion" check boxes.
- Close the Metadata and Data menus and open the "Preprocessing and filtering" menu.
- Enable "row_minocc" and set it to 30.
- Enable "col_norm" standardization.
- Close the "Preprocessing and filtering" menu and open the Methods menu.
- Enable the "Pearson", "Spearman", "Bray Curtis" and "Kullback Leibler" check boxes.
- In the Methods menu, click the "Automatic threshold setting" button.
- In "Automatic threshold setting" sub-menu, select "edgeNumber" and set edge selection parameter to 100.
- In "Automatic threshold setting" sub-menu, enable "Top and bottom" and "Force intersection".
- Close the Methods menu and its "Automatic threshold setting" sub-menu and open the "Merge menu".
- In the Merge menu, set "Network merge" to "intersection". Enable "multi-graph".
- In the main menu, click the GO button.
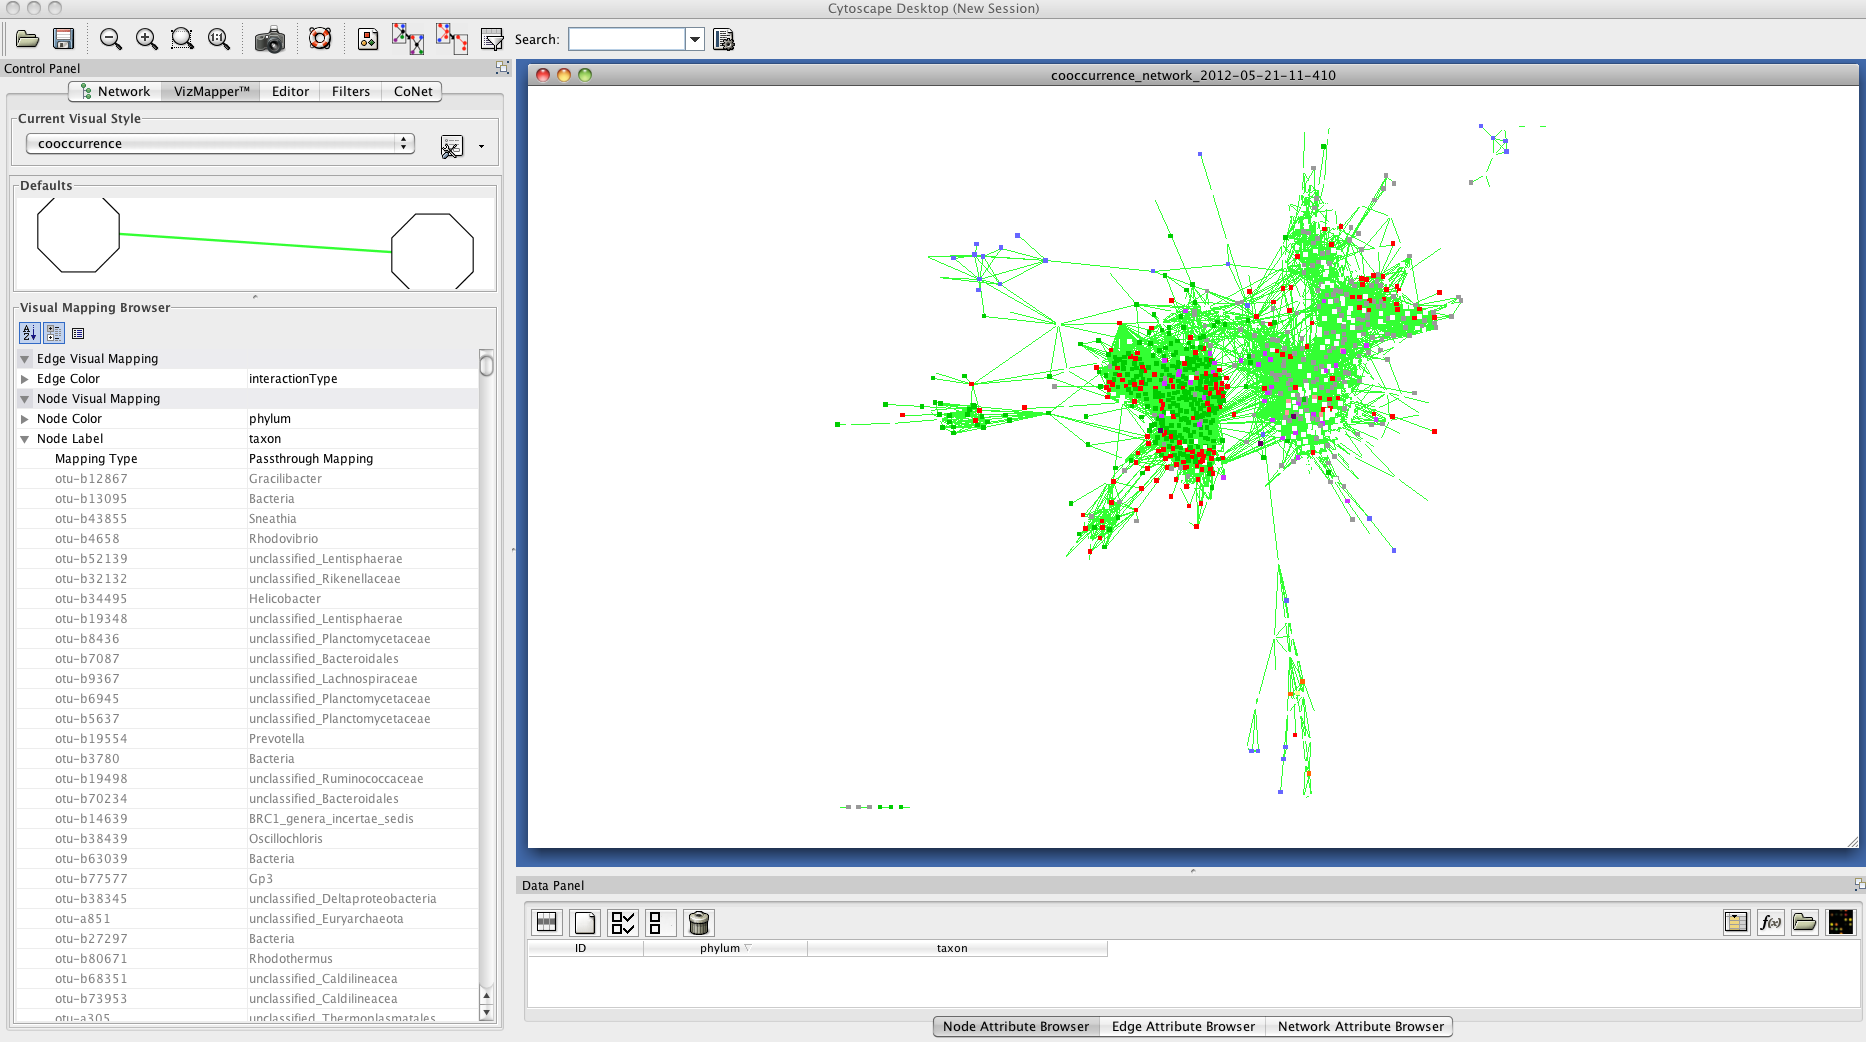
Result
The network returned by CoNet has no layout, as layout computation can be time-consuming, depending on the chosen algorithm.
You can layout the network using one of Cytoscape's supported layouts, for instance the yFiles-layout Organic.
You can then use the VizMapperTM to set phylum-specific node colors. After these processing steps, the network
looks like this:
You can save the current CoNet setting by clicking on the "Settings loading/saving" button in the main menu and then selecting a folder and typing a file name to which to save the current settings.